It's officially back to school for me and I can't believe I'm on the eve of the first day. So many teacher friends of mine are already back! My district has us starting much later than usual, but nevertheless, I'm excited to kick-off our first day tomorrow!
Today I wanted to jump on here really quick and share with you my room and a little bit about my Meet the Teacher!
When you enter my room you'll see a little Student Center bookshelf on the left. On this shelf is where students can find:
- the turn-in bin
- Friday Folders (a weekly take-home folder that has student work from the week and any important items from school - it comes back Mondays)
- Tissues, hand sanitizer, etc
- Clinic office passes
- math, reading/phonics, and social studies/science notebooks
- and table group caddies that have additional communal supplies (I have a table manager job who will be responsible for handing out and collecting these caddies for their table group)
On the wall I have pockets where I place important flyers or extra copies of handouts that need to go home. It's also a great place to keep reminders and other items.
(
All faux plants are from Ikea).
(Paper awnings from Hobby Lobby - similar)
Small Group Table
A new idea that I'm trying out this year is swapping my kidney table for a circle table. I like that it doesn't take up as much space and I'm able to put it near my teacher desk (which is
IDEAL for me). I use these
Ikea stools or students can stand - whichever makes them most comfortable. I then use a
small rolling cart for my reading/math small group supplies.
You'll also notice that I invested in my own fan. I found myself getting hot last year (even with air conditioning) and it is great for when we have lots of visitors in the classroom...like Meet the Teacher!
On top of the cubbies will eventually be the
wooden picture frames I have students decorate. This is a fun activity where students practice using their supplies as we introduce them. Inside the frames I have my student families bring a 4x6 family photo and it not only creates a warm atmosphere/community in our room, but it's there for when students get in their sad feelings and miss their family. I allow them to sit with their picture for a few moments and they place it on my desk when they're ready to return to the carpet/class time. I then place their frame back up above their cubbies.
Hanging from their hooks are
student lanyards. Inside them I place a tag with their name and teacher and on the back I laminated colored construction paper since our specialists are trying a new color-coding system. I also place their lunch cards so going to lunch is a breeze these first few weeks. I have students use these lanyards daily for the first month or so as everyone gets to know each other and remember names. These also help our specialists learn names as well.
Phonics/Small Gathering Area
This year I wanted to create a space where students could gather with me for phonics or other smaller group activities like writing or math time. It will also double as our classroom library during reading centers and a play space for our dramatic play/interventions time at the end of the day.
During phonics, I plan to have students gather in this area facing our Sound Wall. This is when we will review our sounds that we've unlocked together. I also have the use of our white board and other tools for various phonics mini-lessons throughout the year. The intention is to make the "library" a more useful space as a class and I love the concept of students being physically in a different space during different parts of our day together.
My MISC Table
Since ridding my classroom of my kidney table, I have this newfound space and at first I struggled with what to put here. So, I thought about last year and noticed that my students loved finding spaces where they had flexible seating options - and a lot of them loved standing. So, I grabbed this rectangular table (but smaller than our table group tables) and placed it here.
(The red bins here will house my reading center activities and the blue bin is where I'll place reading Write the Room activities. On the trays will be various writing paper options for students.)
The plan for this space is my 'MISC area'...meaning it's kind of a space for all things.
At Meet the Teacher it's my transportation station where parents filled out their child's dismissal tags that go on their backpacks. During the school day it will be a writing station during reading centers, an optional writing table for those who want to stand and have some space when writing, a math table for hands-on centers, and a misc table during dramatic play. I like that this space kind of formed itself and that students can choose what they'd like to do while working there.
We'll see how it goes!
(Peg board accessories (Ikea) for writing materials/tools)
Meet the Teacher
For the last couple of years I have incorporated a
Parent Packet as well as a mini-scavenger hunt for my student families. Meet the Teacher is a quick opportunity for parents to drop off supplies and students get a chance to meet me and get a feel for the classroom.
(Green bins at the front of the room will house my hands-on math center activities).
At each table group I have my seating arrangements made - but, of course, these seats will change as needed. In each packet I have info for my classroom as well as any forms from the school. I also place the
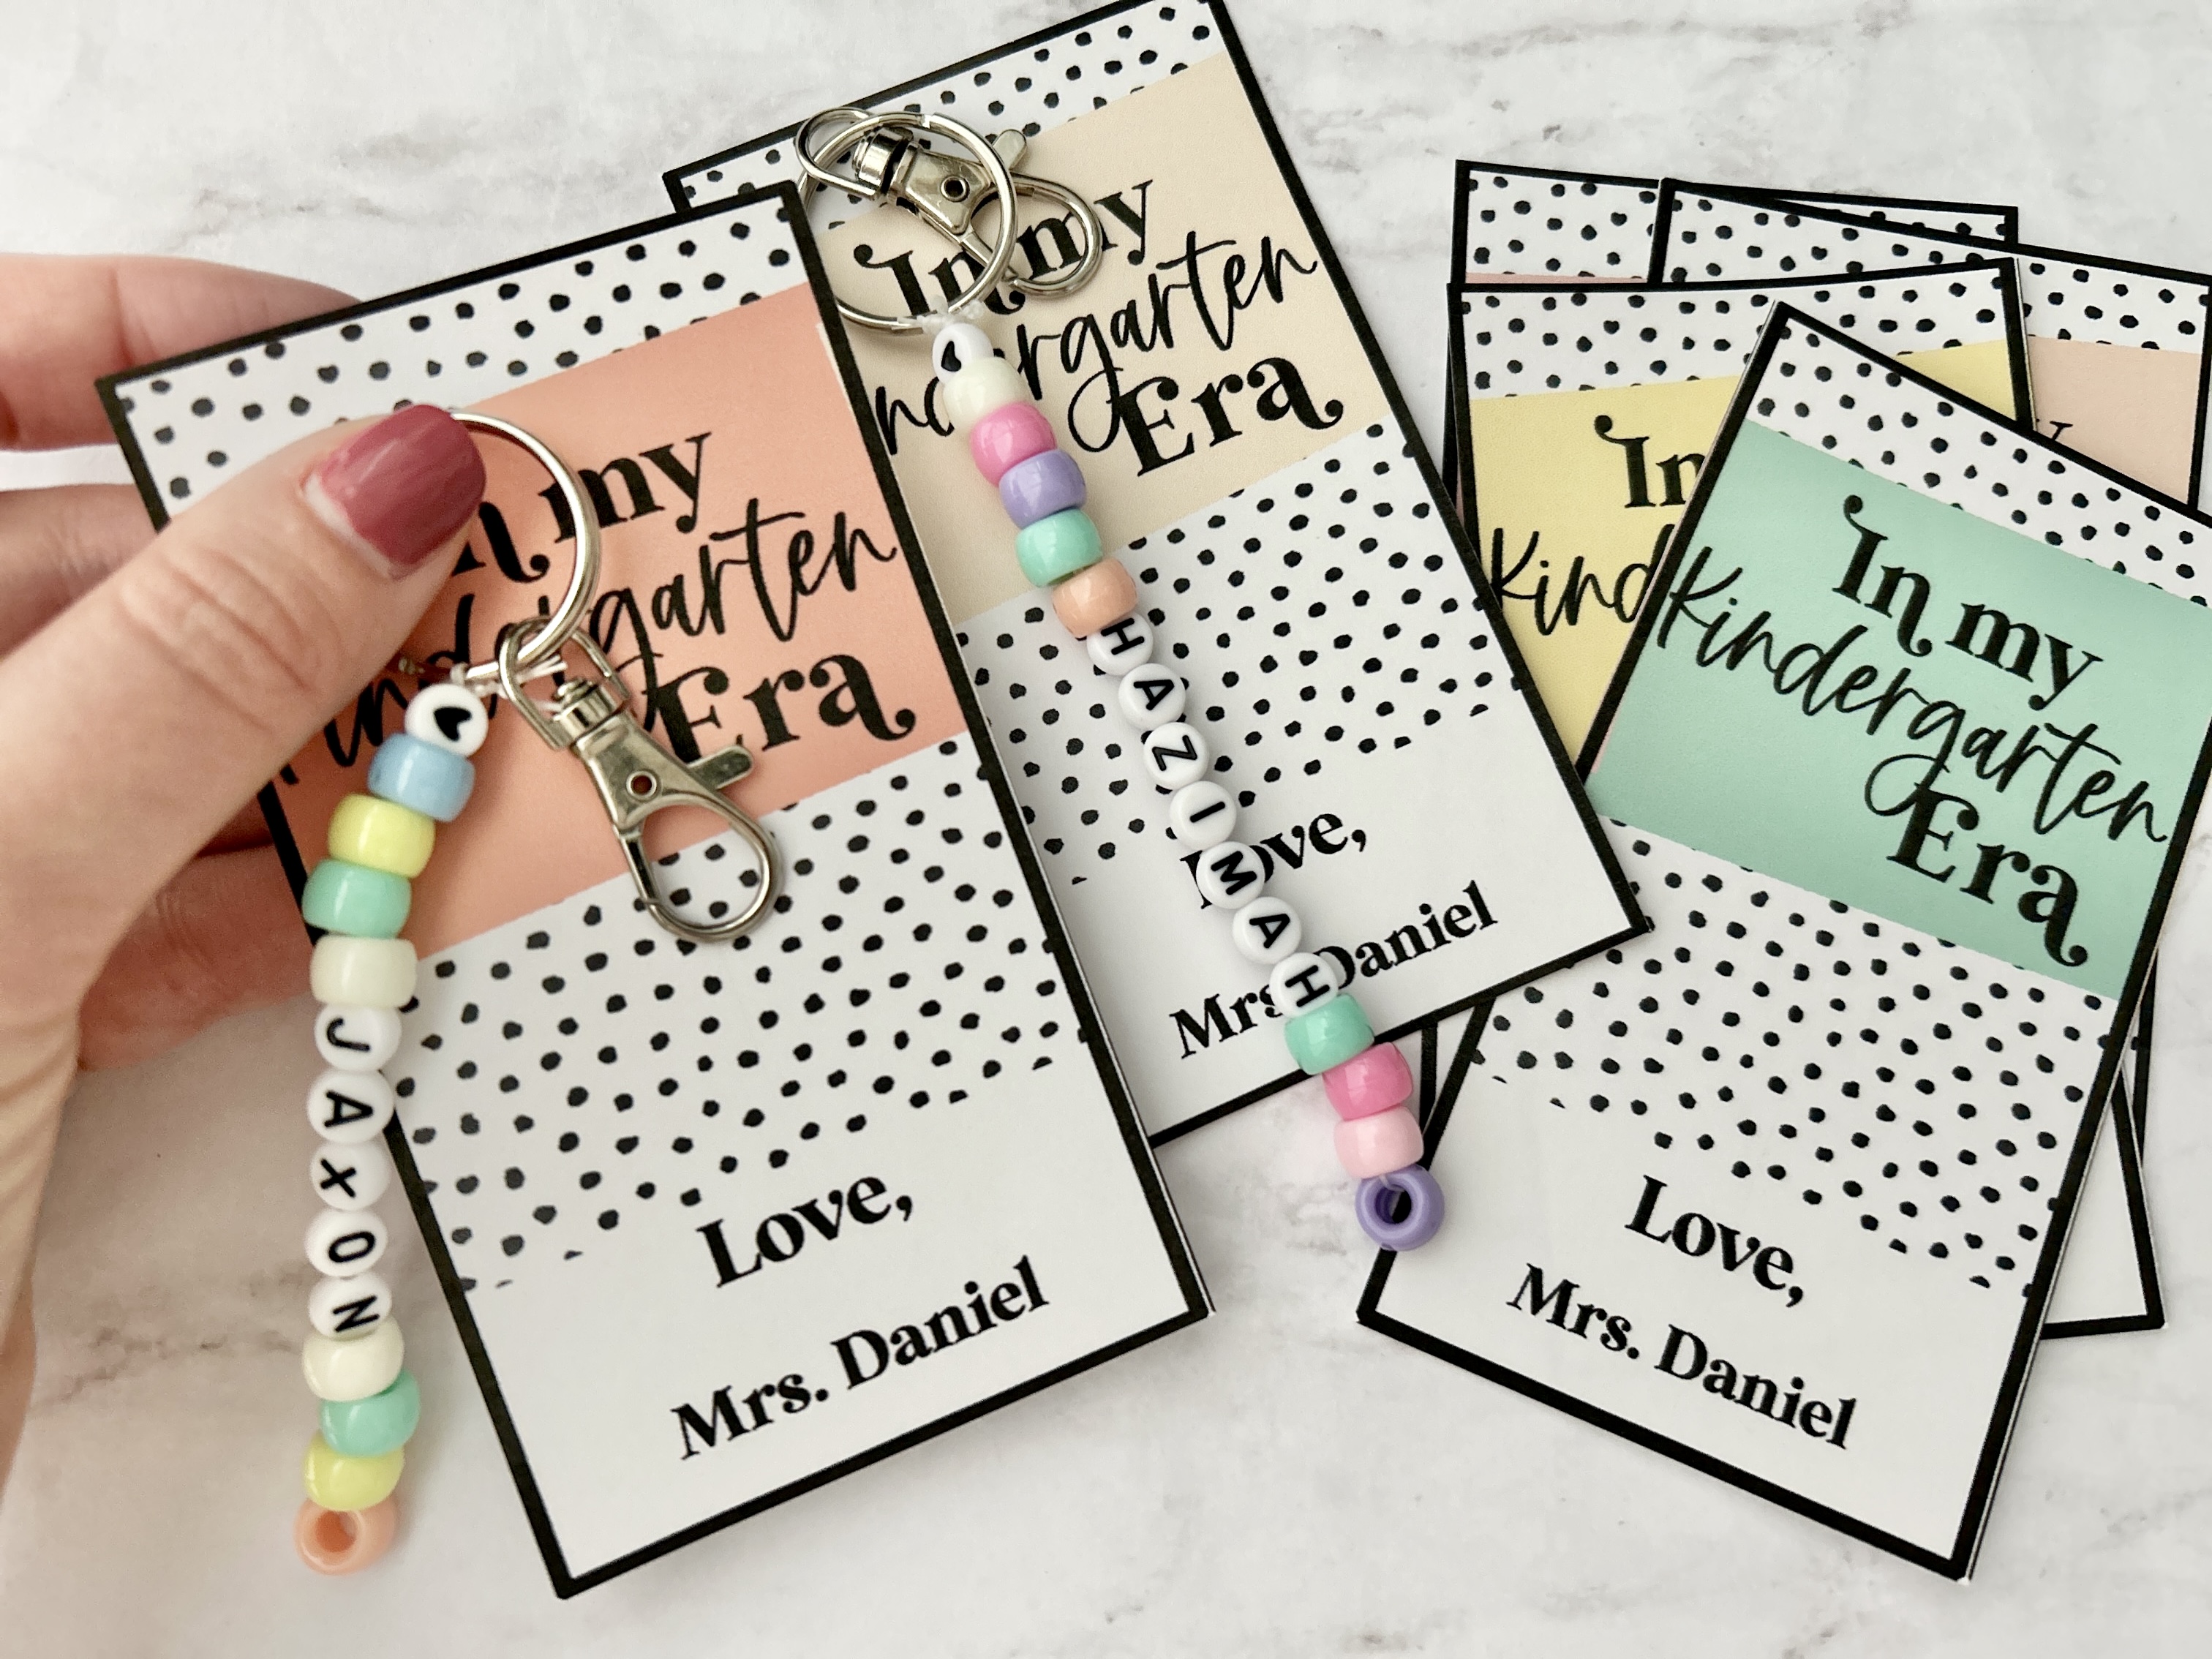
keychain I made for my students and their plastic crayon box at their seats.
The reason I have a scavenger hunt is mainly for students and their parents help me with the BTS organization. At their seats students will build their pencil boxes as well as place their other supplies in containers around the room. Their pencil boxes will then go to their cubbies and be ready for the first day of school. The other supplies can just be tucked away for the time being and organized into my drawers in the coming week.
This system saves me a lot of time upfront and gives families something to do while I'm greeting students and meeting my new parents. I'll check in periodically and make sure parents know what to do. The final step on their scavenger hunt is to take a picture with me! It gives them a little keepsake and it lets me know when they're finished. I'm able to say goodbye and chat for a moment before the first day.
Each year it seems to be a hit and makes Meet the Teacher feel less chaotic.
Well, that's it for now!
Happy teaching, everyone, and happy back to school!