
June 19, 2025
My Secret Weapon for Bathroom Management
As teachers, we're constantly searching for those small, effective tweaks that can make a big difference in our classroom. We're looking for strategies that minimize disruption, maximize learning time, and give us a little more peace of mind. And let me tell you, I've found one such gem in the most unexpected of places: a simple bathroom tap light.
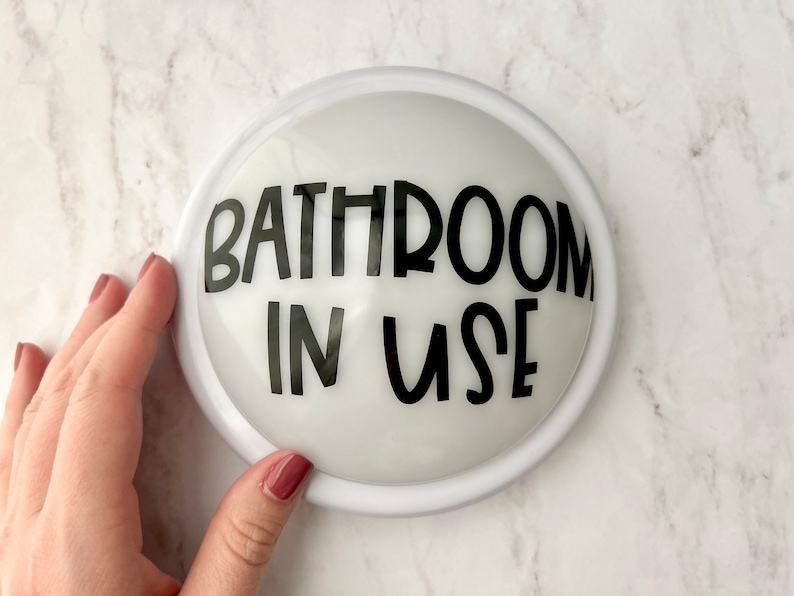
You might be picturing a glowing disco ball in the hallway, but trust me, this is far more practical (and less likely to induce a dance party). I'm talking about those small, battery-operated, push-button lights – the kind you might put in a closet or under a cabinet. Placed strategically on the wall next to my classroom door, this unassuming little light has become my go-to signal for bathroom availability, and it has genuinely revolutionized how I manage bathroom breaks with my students (even with my kindergartners).
Here's why this humble tap light has earned a permanent place in my classroom management toolkit and you should consider one, too:
1. Instant Visual Cue: No More Interruptions!
How many times have you been in the middle of an engaging lesson, only to be interrupted by a student whispering, "Can I go to the bathroom?" or shaking the "r" in sign language at your face during small groups? With the tap light, those interruptions are drastically reduced.
Before a student even asks, they can glance at the light. If the light is on, the bathroom is occupied. If the light is off, it's available. It's a clear, immediate visual cue that empowers students to self-monitor and prevents them from asking an unnecessary question that breaks the flow of instruction. This alone saves precious instructional minutes throughout the day.
2. Effortless Monitoring (Without Being a "Bathroom Cop")
One of the biggest benefits for me is the ability to discreetly monitor bathroom use. When a student leaves for the bathroom, they simply tap the light on. When they return, they tap it off. This simple action provides me with:
- Awareness of Occupancy: I can quickly see if someone is in the bathroom without having to open the door or ask. This is particularly helpful when I have a student who might take a little longer or if I'm expecting someone back.
- A Gentle Reminder for Students: The act of turning the light on and off subtly reinforces accountability. They know I'm aware they've gone, and it helps prevent excessive or prolonged bathroom breaks. It's not about being a "bathroom cop," but rather establishing a simple, respectful system.
3. A Non-Distracting, Independent System
Unlike a verbal check-in or a hand signal, the tap light is remarkably non-distracting. It doesn't require me to stop teaching, and it doesn't draw attention to the student going to the bathroom. This fosters a more independent and responsible approach to bathroom breaks for students. They learn to manage their own needs within the established system.
4. Overall Usefulness in Classroom Management
Beyond just bathroom use, the tap light embodies several key principles of effective classroom management:
- Clarity: The rules are crystal clear – light on means occupied, light off means available.
- Consistency: It's the same system every single time, making it easy for students to learn and follow.
- Efficiency: It streamlines a common classroom routine, saving time and reducing friction.
- Empowerment: Students take ownership of their bathroom breaks, fostering a sense of responsibility.
In my classroom, the tap light has become an invaluable tool. It's a small investment with a huge return in terms of reduced interruptions, improved student independence, and a smoother flow to our school day. If you're looking for a simple yet powerful way to enhance your classroom management, I highly recommend giving the humble bathroom tap light a try. You might be surprised at the difference it makes!
Tap Light Variations:
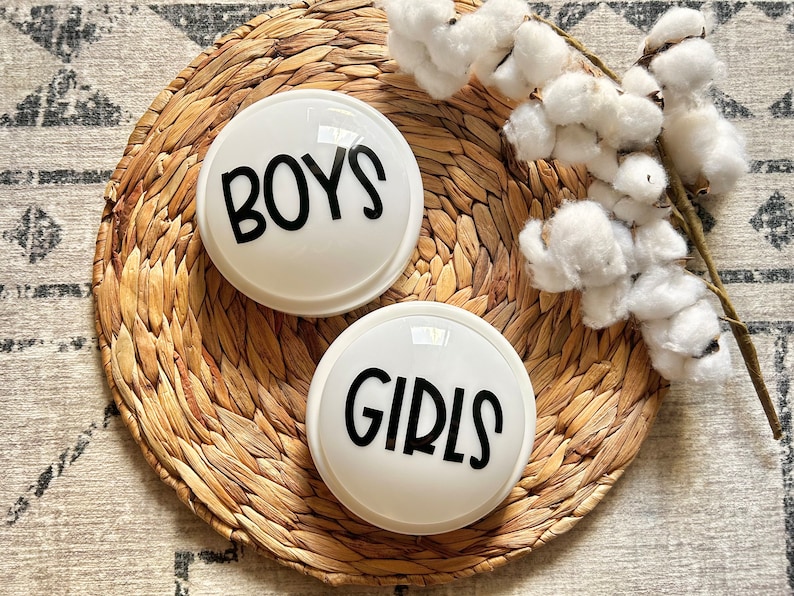
Bathroom in Use | Bano en Uso | Nurse | Boys/Girls
Do Not Disturb / Ask 3 Before Me | Calm Corner in Use

Common Questions:
- I have cinder blocks in my classroom. How do these secure to the wall?
- I used a heavy-duty velcro on the back of my light to secure to my wall. I asked my front office/custodial staff to help and it worked! Just make sure to place the velcro so you can still access the batteries when they're in need of replacing.
- What is the lettering made of?
- The lettering is made of high-quality permanent vinyl.


June 5, 2025
Our Amazing Brains: A Back to School Unit

Upon the first few weeks of school teachers always set out to spend that time establishing classroom norms. You know, the routines and procedures students must learn in order for the classroom to function normally. This school year ahead, I've found myself reflecting on the needs of my class last year and thinking of ways I can better support them. That's when I realized I wanted to spend more time in those first few weeks of the new school year discussing the brain.
I knew I wanted my lessons to build upon each other and relate to how our brains help us learn and grow. In my research for this resource I found myself becoming more and more fascinated with the brain and just how awesome it is!
Lesson 1: Our Amazing Brains
In this first lesson, students are introduced to the brain and its function. It is explained as our "super computer" and they will learn that the brain can be divided into different sections:
- Frontal Lobe (incl. prefrontal cortex): think, plan, solve-problems, our personalities
- Parietal Lobe: movement, speed, the senses, and writing
- Occipital Lobe: memory, sight, smell
- Temporal Lobe: speech, language, and hearing
- Cerebellum: balance, coordination, and fine motor skills
- Brain Stem: connects the brain to the spinal cord

- Labeling the Brain: a straightforward worksheet where students label the lobes/parts and color code it based on the function of each part.
- Interactive Journals: flap-book style notes where students cut and glue flaps into their journals and practice note-taking. They'll identify the part of the brain and lift the flap to write its function.
- Brain Hats: This activity is more advanced and for those students who can handle the number of directions. But, the finished product is pretty cool and a great engaging activity. I've also included a simpler version using construction paper and step-by-step directions.
Lesson 2: Growth Mindset

- "I'll try again"
- "I'll ask for help or try a new way"
- "My brain is getting stronger"
- "Mistakes help my brain learn"
Lesson 3: Problem-Solving Brains

- Station 1: Thinking & Planning Zone (thinking of 2 ways to solve the problem)
- Station 2: Remembering & Learning Zone (thinking of 1 way you've learned from a mistake)
- Station 3: Creative & Idea Zone (draw a quick picture of how you might solve the problem)
- Station 4: Brave Action Zone (strike a pose that shows you're going to take a brave step)
Lesson 4: Feelings & Our Brains
Lesson 5: Regulating Our Emotions
 |
| My Calm Corner at the beginning of the school year. (2024) |
The Calm Corner
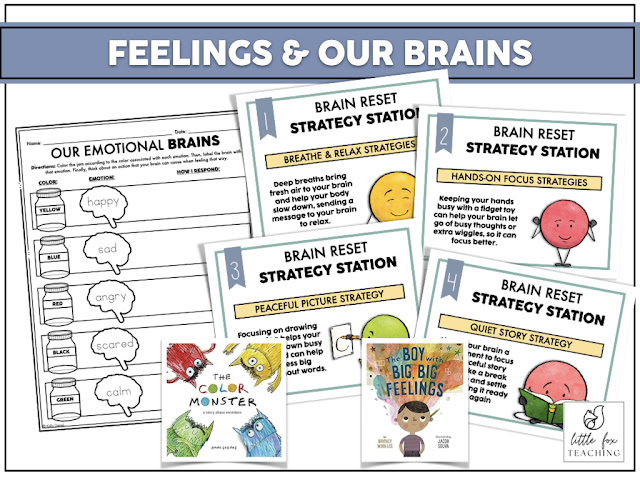
- Breathe & Relax (breathing tools/cards, finger tracing, pinwheels)
- Hands-On Focus (fidget tools, stress balls (different textures), sensory bottle)
- Peaceful Picture (whiteboard or notepad for quick pictures, Think Sheets are another great option)
- Quiet Story (picture books (about emotions))


Hey there!
