February 25, 2024

Gingerbread Composing Activity


One of my favorite concepts to teach my kinders in math is composing and decomposing numbers. If you're not familiar with the term, it simply references how numbers are made by combining different quantities. It's foundational number sense that builds over the school year to eventually being able to add and subtract (or join and separate).


What I enjoy about it is that you can see how students begin to make connections and for them to demonstrate how numbers are created. At the beginning of the year, we begin with composing numbers to 5, then to 10, and at the end of the year we jump up to 20. It's very cool to see how this progression allows students to become little number experts and truly understand how numbers represent quantities and that we can manipulate those quantities in different ways.

...but anyways...


One activity I enjoy doing with them around the holidays is this gingerbread composing craftivity!


Gingerbread Composing

Sorry, it's not a great photo, but here's an example of one of my student's work.

I use this activity after we've spent a lot of time building upon the understanding of number sense to 10. We spend weeks learning how to represent, count, compare, and write numbers in different ways. Then, as a means to have students show off what they've learned they complete this fun and engaging craftivity!

Students are provided a set of 10 gingerbreads that are both boys and girls. They are to select a quantity of each to compose numbers of their choice from 5-10. I encourage students to think about the different "number pairs" or "number partners" that we've discussed in previous lessons when composing. It helps them stretch their understanding beyond the easy peasy number pairs like 5 and 5 make 10

Words vs Symbols

To finish, my students must complete the solution statement that describes the number they're composing. In my district, we use the phrase: "____ and _____ make ______" and not the symbols. We move towards working with the symbols at the end of the year as to make the link between building numbers to addition

I see a lot of great resources on TpT and other teacher blogs, but rarely do I see "and" and "make" being used. So, I've included both versions just because I know different classrooms use different verbiage to describe composing. 


I've seen teachers get super creative with this activity by adding foil to the background to make it look like the gingerbreads are baked on a cookie sheet. So cute!


In addition to the gingerbreads, I've also included marshmallows to represent the same concept of composing to 10. Simply choose the activity that best suits your learners.


Sprouting Seeds: Living & Non-Living Science


One of my favorite science units to teach in kindergarten is our unit on Living and Non-Living! We spend a few weeks building our knowledge around what makes an object living or non-living then explore the differences between needs and wants.


What's more, this unit is a wonderful opportunity to expose students to non-fiction texts if they haven't learned about them already. I highly recommend digging through your school's library for some NF texts on living and nonliving things to have students read and explore. Epic Books and Pebble Go are other great virtual resources as well!


Week 1: What is Living/Non-Living

This introductory week allows students to develop a strong understanding of what makes an object living or non-living. They will use key vocabulary to describe objects (tying in their vocabulary from a previous unit on attributes/properties) and sort them based on what makes them living or not.


Week 2: Needs of Living Things: Animals & Plants

This week students build on their understandings and focus on living things as plants and animals. Students begin to identify the certain "needs" of living things and how they require these things to survive. This is a great opportunity to discuss needs vs wants...which ends up being a bonus discussion about accepting no. 


I really enjoy using this resource from Kindergarten Creations. It has a lot of great visuals for this unit and for the student work pages, I size my copies down so students can glue their work/thinking into their science journals. 


And who doesn't love a good Cookie Monster moment?? This is a fun video to share with students to drive concepts home about the basic needs of living things.


Week 3: Seed Sprouting Lab

In this week our class begins to apply what they've learned to a lab where they sprout a lima bean seed! 


This ends up being my favorite week because students get the opportunity to sprout their own seeds and observe the beginning of a plant life cycle! In our class, we use lima beans (nice connection to our read-aloud A Bad Case of Stripes) and place them inside Ziplocs. You can use any type of bean (I've used some pinto beans from my sensory bins before!) as they all begin sprouting relatively quickly. I found this cute greenhouse cover where students write their names and decorate them. Afterward, I tape them up to our window and the watching begins!


It ends up taking a week or so before students can begin to see changes in their seeds. I place 3 inside their greenhouses to give them a greater chance of sprouting something. 


Pick up this FREEBIE over at my TpT store so your students can begin sprouting their own seeds in a classroom greenhouse!


August 27, 2023

Meet the Teacher & Room Reveal 2023

It's officially back to school for me and I can't believe I'm on the eve of the first day. So many teacher friends of mine are already back! My district has us starting much later than usual, but nevertheless, I'm excited to kick-off our first day tomorrow!


Today I wanted to jump on here really quick and share with you my room and a little bit about my Meet the Teacher!


When you enter my room you'll see a little Student Center bookshelf on the left. On this shelf is where students can find:
  • the turn-in bin
  • Friday Folders (a weekly take-home folder that has student work from the week and any important items from school - it comes back Mondays)
  • Tissues, hand sanitizer, etc
  • Clinic office passes
  • math, reading/phonics, and social studies/science notebooks
  • and table group caddies that have additional communal supplies (I have a table manager job who will be responsible for handing out and collecting these caddies for their table group)
On the wall I have pockets where I place important flyers or extra copies of handouts that need to go home. It's also a great place to keep reminders and other items. 

(All faux plants are from Ikea).
(Paper awnings from Hobby Lobby - similar)

Small Group Table

A new idea that I'm trying out this year is swapping my kidney table for a circle table. I like that it doesn't take up as much space and I'm able to put it near my teacher desk (which is IDEAL for me). I use these Ikea stools or students can stand - whichever makes them most comfortable. I then use a small rolling cart for my reading/math small group supplies.

You'll also notice that I invested in my own fan. I found myself getting hot last year (even with air conditioning) and it is great for when we have lots of visitors in the classroom...like Meet the Teacher!


On top of the cubbies will eventually be the wooden picture frames I have students decorate. This is a fun activity where students practice using their supplies as we introduce them. Inside the frames I have my student families bring a 4x6 family photo and it not only creates a warm atmosphere/community in our room, but it's there for when students get in their sad feelings and miss their family. I allow them to sit with their picture for a few moments and they place it on my desk when they're ready to return to the carpet/class time. I then place their frame back up above their cubbies.

Hanging from their hooks are student lanyards. Inside them I place a tag with their name and teacher and on the back I laminated colored construction paper since our specialists are trying a new color-coding system. I also place their lunch cards so going to lunch is a breeze these first few weeks. I have students use these lanyards daily for the first month or so as everyone gets to know each other and remember names. These also help our specialists learn names as well.

Phonics/Small Gathering Area

This year I wanted to create a space where students could gather with me for phonics or other smaller group activities like writing or math time. It will also double as our classroom library during reading centers and a play space for our dramatic play/interventions time at the end of the day.


During phonics, I plan to have students gather in this area facing our Sound Wall. This is when we will review our sounds that we've unlocked together. I also have the use of our white board and other tools for various phonics mini-lessons throughout the year. The intention is to make the "library" a more useful space as a class and I love the concept of students being physically in a different space during different parts of our day together.


(Black rug is from Target)

My MISC Table

Since ridding my classroom of my kidney table, I have this newfound space and at first I struggled with what to put here. So, I thought about last year and noticed that my students loved finding spaces where they had flexible seating options - and a lot of them loved standing. So, I grabbed this rectangular table (but smaller than our table group tables) and placed it here.


(The red bins here will house my reading center activities and the blue bin is where I'll place reading Write the Room activities. On the trays will be various writing paper options for students.)

The plan for this space is my 'MISC area'...meaning it's kind of a space for all things. 

At Meet the Teacher it's my transportation station where parents filled out their child's dismissal tags that go on their backpacks. During the school day it will be a writing station during reading centers, an optional writing table for those who want to stand and have some space when writing, a math table for hands-on centers, and a misc table during dramatic play. I like that this space kind of formed itself and that students can choose what they'd like to do while working there. 

We'll see how it goes!

(Peg Board (Ikea), I used their attachment to attach to my table)
(Peg board accessories (Ikea) for writing materials/tools)

Meet the Teacher


For the last couple of years I have incorporated a Parent Packet as well as a mini-scavenger hunt for my student families. Meet the Teacher is a quick opportunity for parents to drop off supplies and students get a chance to meet me and get a feel for the classroom.


(Green bins at the front of the room will house my hands-on math center activities).

At each table group I have my seating arrangements made - but, of course, these seats will change as needed. In each packet I have info for my classroom as well as any forms from the school. I also place the keychain I made for my students and their plastic crayon box at their seats.

The reason I have a scavenger hunt is mainly for students and their parents help me with the BTS organization. At their seats students will build their pencil boxes as well as place their other supplies in containers around the room. Their pencil boxes will then go to their cubbies and be ready for the first day of school. The other supplies can just be tucked away for the time being and organized into my drawers in the coming week.

This system saves me a lot of time upfront and gives families something to do while I'm greeting students and meeting my new parents. I'll check in periodically and make sure parents know what to do. The final step on their scavenger hunt is to take a picture with me! It gives them a little keepsake and it lets me know when they're finished. I'm able to say goodbye and chat for a moment before the first day.

Each year it seems to be a hit and makes Meet the Teacher feel less chaotic. 


Well, that's it for now!
Happy teaching, everyone, and happy back to school!


August 13, 2023

Meet the Teacher Student Keychains Tutorial


At the beginning of the year I always love gifting my students with a little something at Meet the Teacher. For a brand new kinder, many of which are coming to a big new school for the first time, can have all the feelings from excitement to nervousness...and all at the same time. As a way to gently welcome them into our classroom I make these personalized keychains that they can use on their backpacks (or anything they choose!). Boys and girls alike adore them and I know the parents appreciate the sentiment.

So, skip the candy and snacks and opt for this easy peasy DIY student keychain (grab the gift tags here)!

Here's how you make them:

Gather your supplies

Amazon affiliate links used within this post


Materials Needed:
I sourced all of my materials on Amazon, but your local craft store is a great place to look for many of these supplies.


Assembling the Keychains


Step 1: String your beads

Use enough elastic string so that you can string all of the letters in each student's name as well as have room for the colorful pony beads. 

Note: my string is a little small for the pony beads (oops!) so I have to tweak how I tie them together. You'll see how I do this at Step 2...

You'll select a few colors of pony beads and begin to string it on as shown...


Then, the trick is to thread both sides of the string through the next pony beads. This will secure the bottom bead onto the keychain (see below).


Step 2: Assemble student letter beads

Next, you are going to thread the letter beads to build your student's name followed by more pony beads. This is where you can get creative with your coloring and style. I kind of chose my colored beads based on whether it's a boy or girl...but it's completely up to you!

Now, this is where I had to get creative. My alpha beads and pony beads are two different widths in terms of their opening. So, I use a heart bead at the end of the keychain to secure it all together. Simply knot it off (making a knot about 3-4 times so the beads don't slip off).


Step 3: Attach to keychain clip

Now that you have a finished keychain all you need to do is knot it around the clip. Again, I knot it about 3-4 times to secure it so the beads don't fall off.


Step 4: Attach to gift tag and hand out!
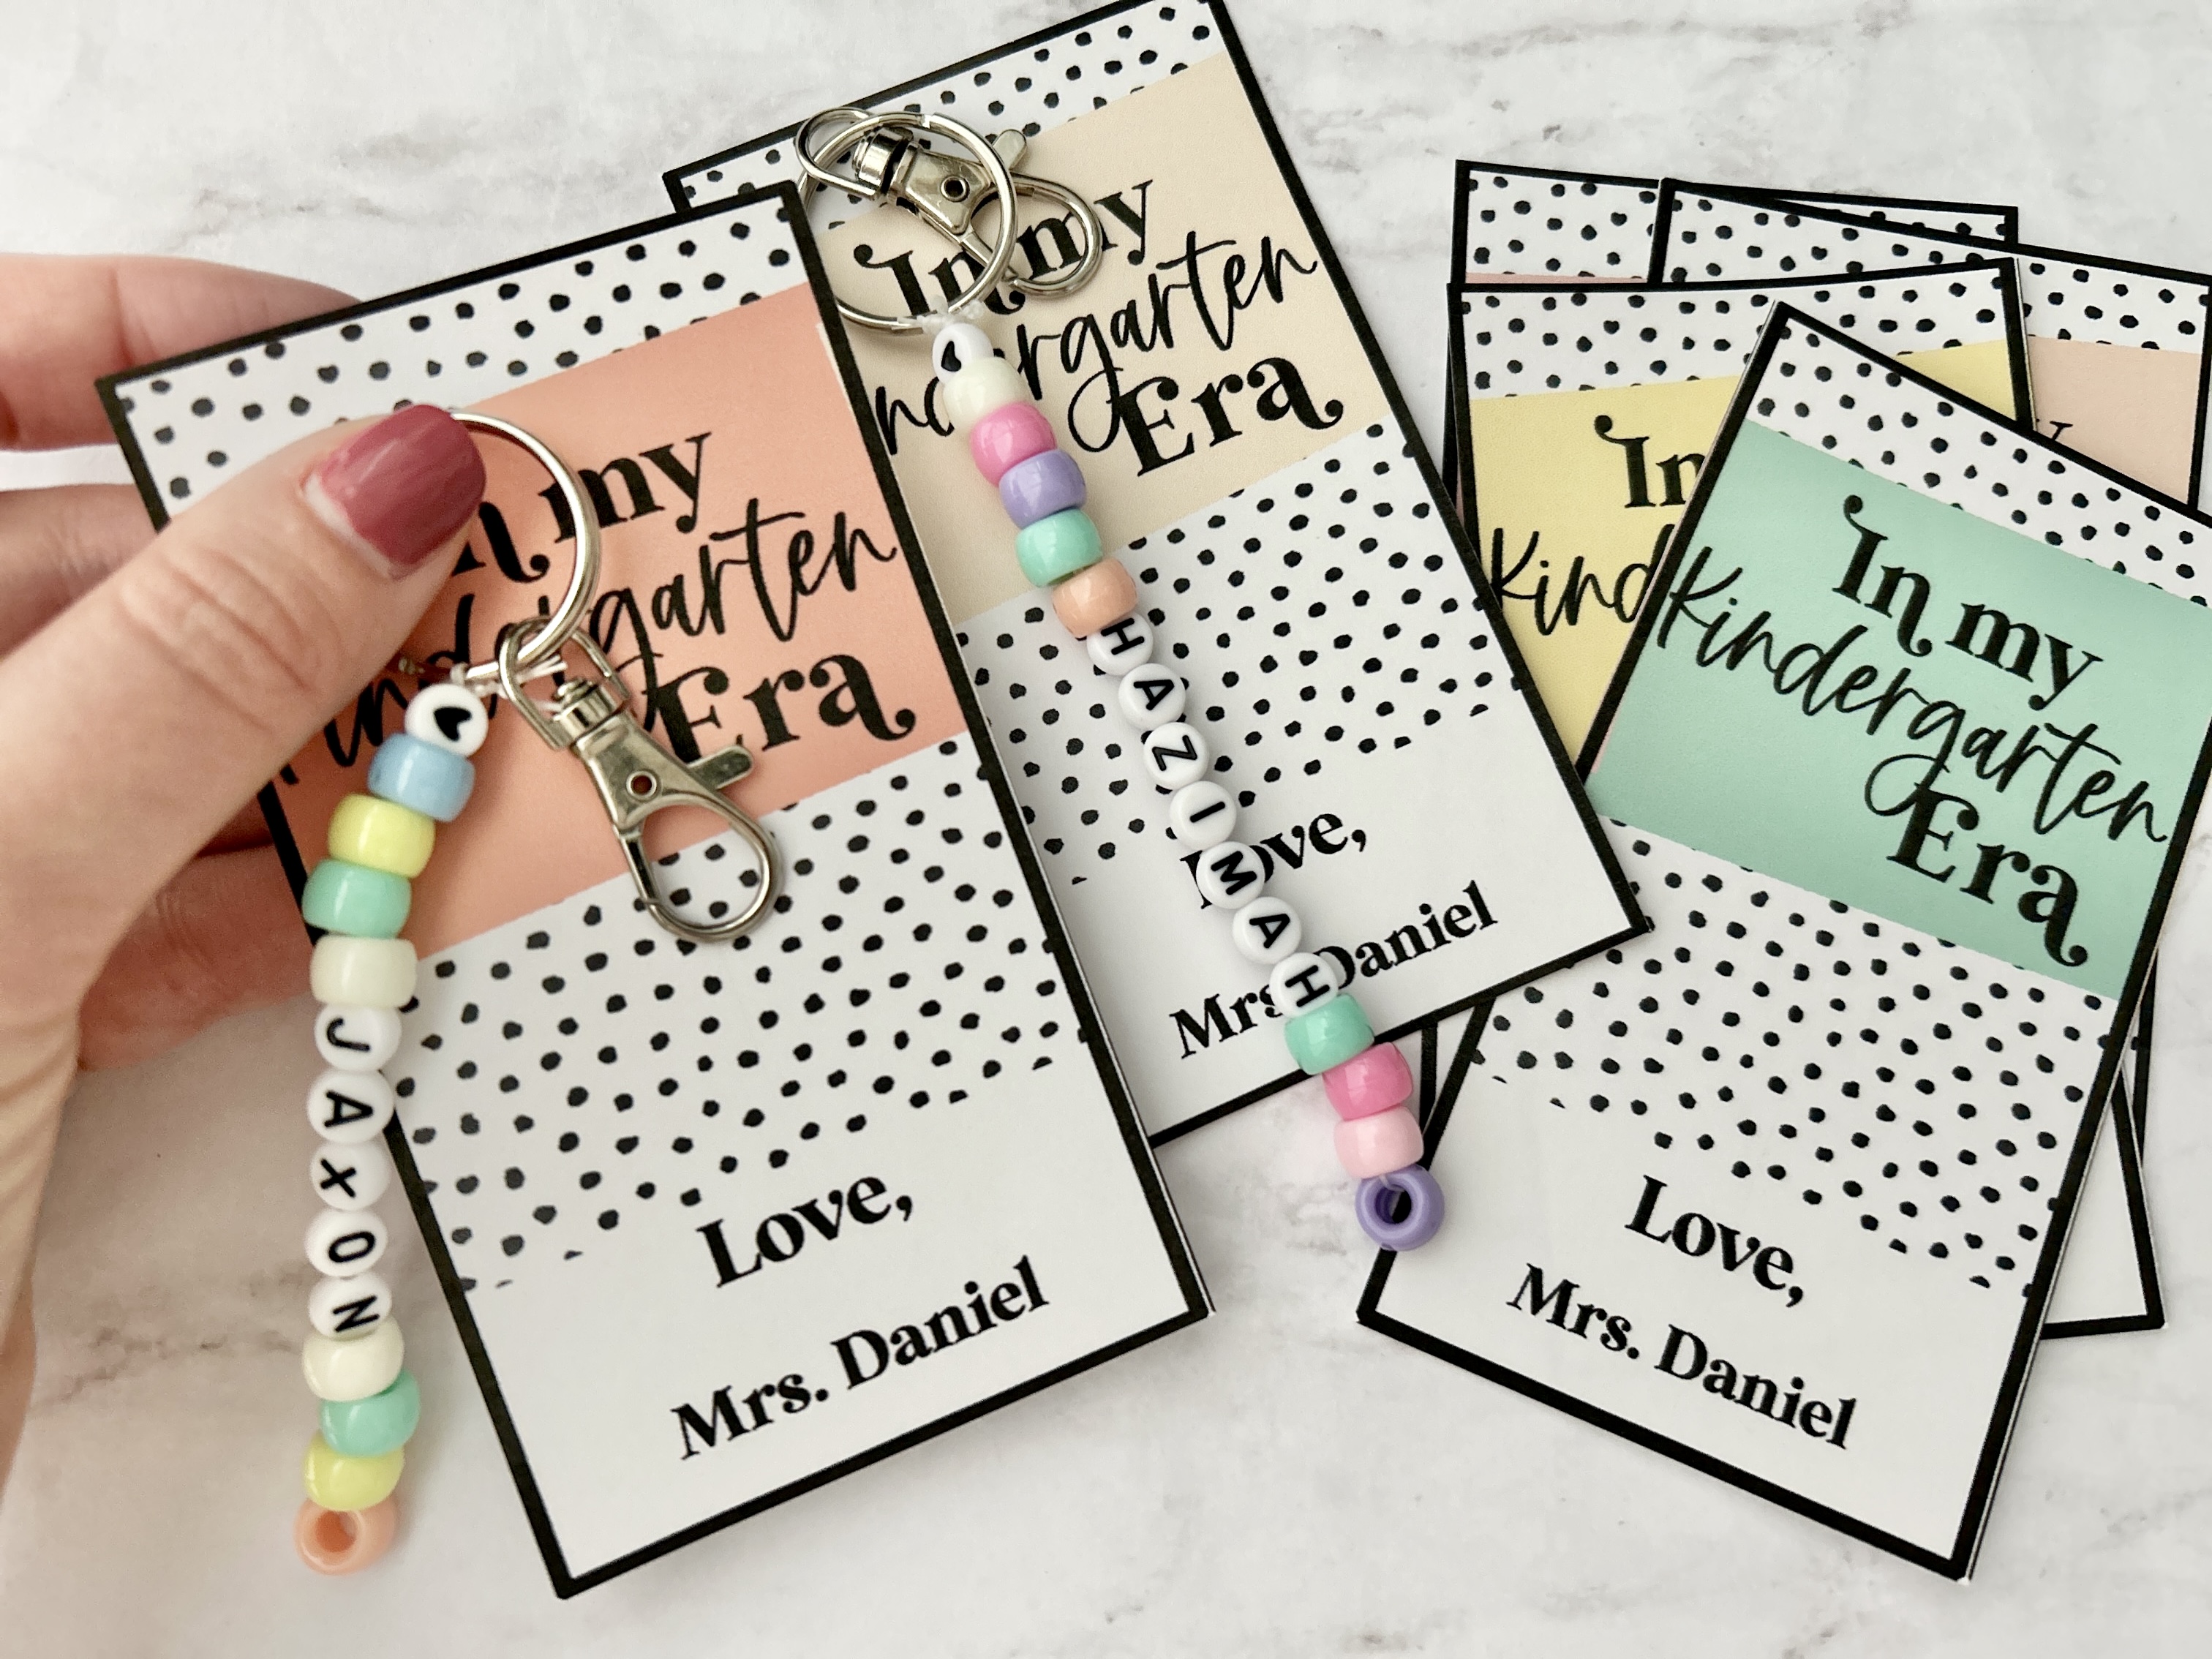
The final step is to attach the keychain to a cute gift tag and lay them out for Meet the Teacher/Open House. I put them at their seats when they arrive, but you can hand them out at the end. Totally up to you!


These gift tags are made for Pre-K thru 6th Grade and are editable right in the PDF. Simply type your name and print. You can use a hole-punch and clip your keychain right on!

Recommendations:

  • I recommend having your materials on hand at school so that you can quickly make a keychain for any students added last second to your roster. 
  • I also hold onto any keychains of students who didn't attend Meet the Teacher/Open House. I'll make sure to lay them out on the first day of school.
I hope you enjoy your new school year and...happy teaching!


July 31, 2023

Favorite Back to School Teacher Goodies


Soon I'll be heading back to the classroom and I personally can't wait. I know there are a ton of teachers out there who love to squeeze every last moment of their summers before even thinking about the school year ahead...I'm just not that teacher. Even 12 years later I am always filled with a buzzing excitement and I hope that never fades...

So, as I eagerly await the email from admin that lets us know we can get into our classrooms, here's a list of my favorite goodies for the back to school season!

Half-Gallon Water Bottle


Last year I got on the "drink more water" trend with my very own half-gallon water bottle. Right now everyone has to have the Stanley mug...and I don't doubt it's great...I just need a little more...

So, I am a person who finds themselves drinking more water when I have a straw. So, this one from Amazon has been a great option. So far I've been happy and the half-gallon has been do-able for me each day. Some teachers I know opt for the gallon bottles...but for me that's just a little too advantageous. Another great option is this bottle...

New Speckled Apple Watch Band & Earrings


A fun gift to myself to start the year last year were these cuuuuute Mo Willems earrings! I also picked up this speckled Apple Watch band. The seller is a teacher as well and I love supporting small businesses like these. Be sure to stop by her little online boutique for some teacher goodies yourself!

New Badge Reel


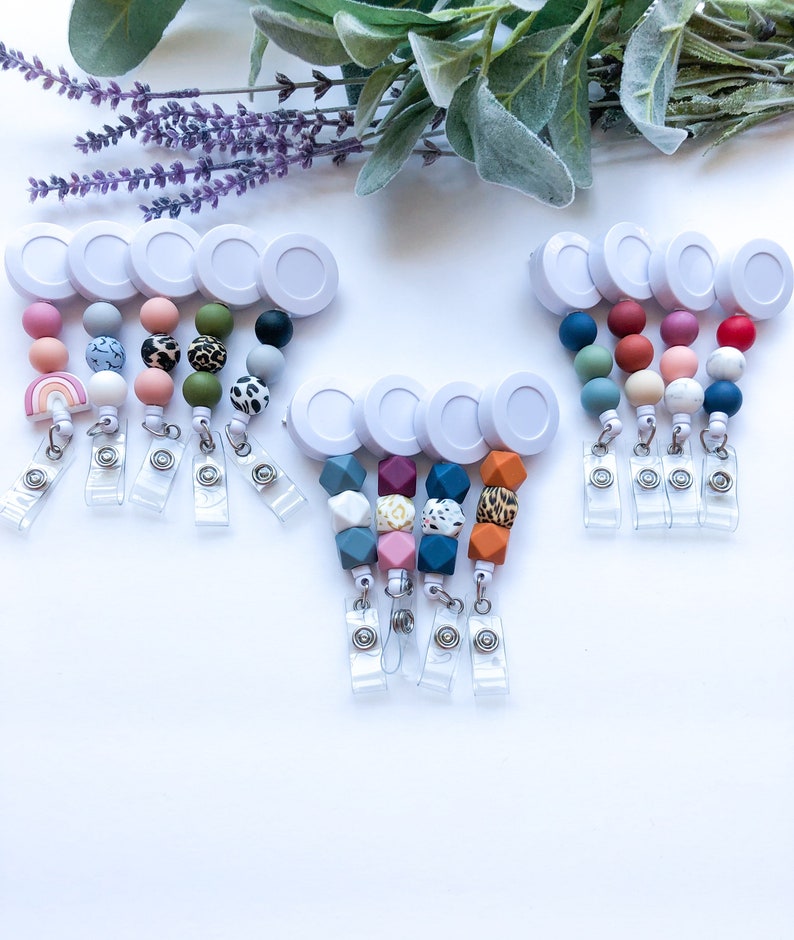
My first year back I went with a cute necklace badge holder and I found it made a lot of noise when I walked and just got in the way. This last year I upgraded to the badge reel and it's been perfect for me. I opted for the olive green with leopard print and it's lasted me all year. I love the silicon beads and I love being able to place it wherever I want.

Teacher Tees


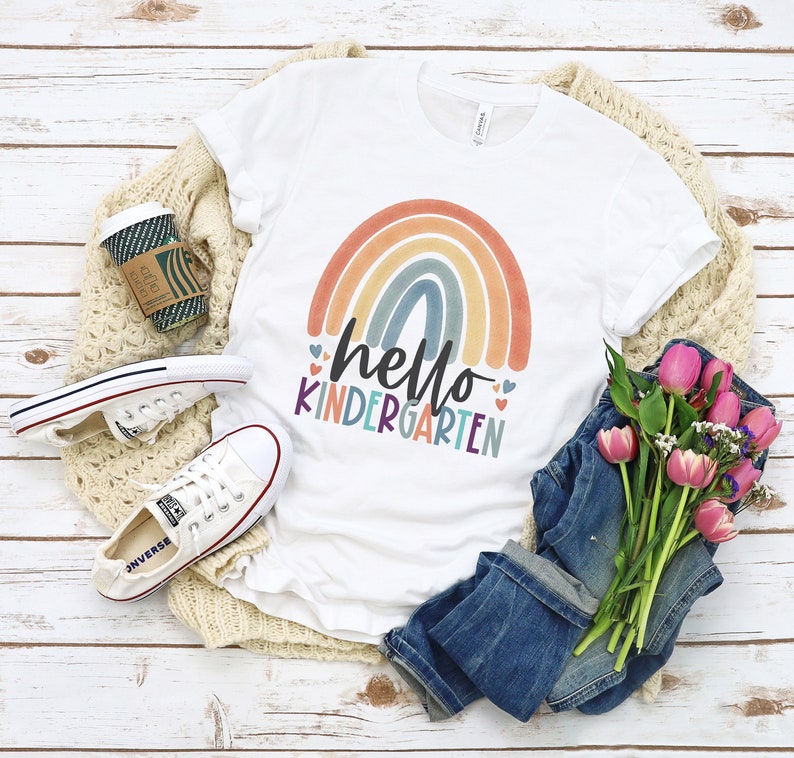
Who doesn't love a good teacher tee? I love browsing all over for new shirts to wear during the year. This one is one of my favorites and the seller makes them for all grade levels. I love finding quality shirts (think Bella Canvas) from Etsy and for simpler tees (think Fruit of the Loom or Gildan) I use Tees2UrDoor

Gifts for Teammates

Nothing says "welcome back" like a few goodies for your teammates! My own shop, Red Oak Lettering, has a few items that can be personalized. Here are a few popular items teachers love ordering for themselves or their teams:

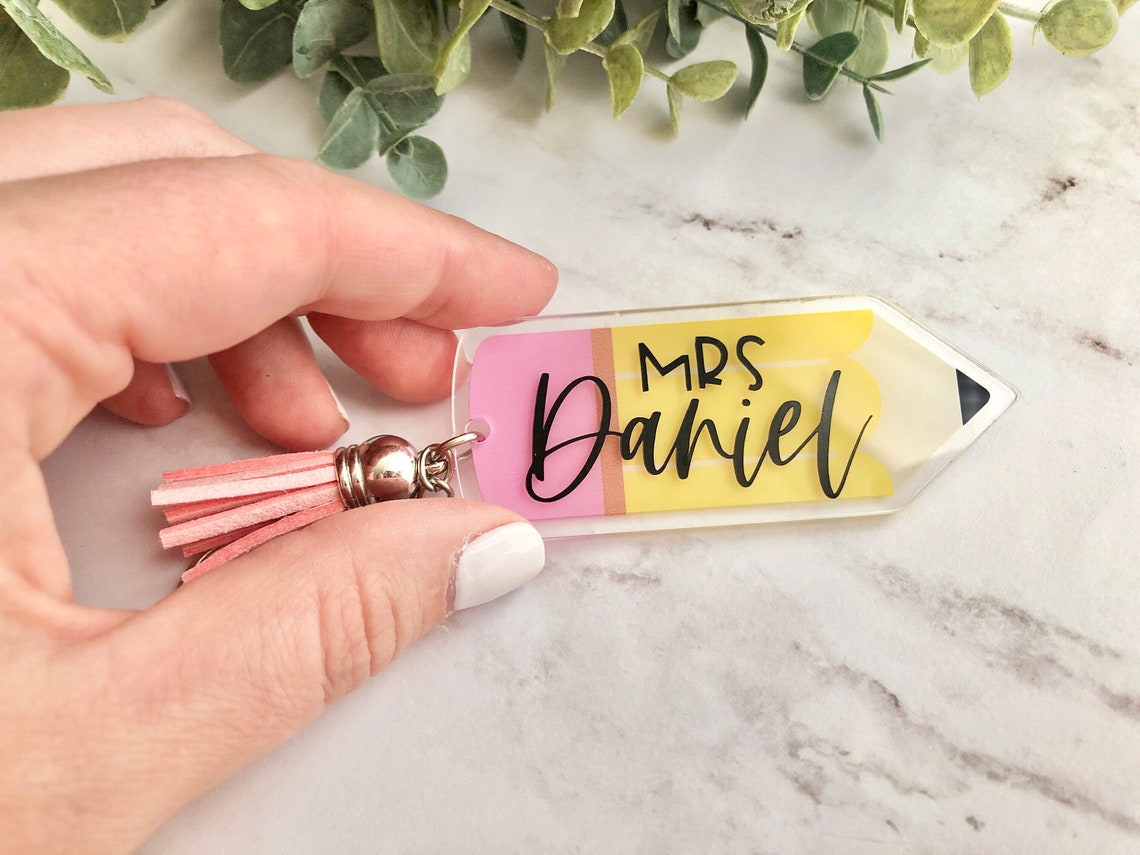
Personalized Pencil Keychain


Keychains are a fun way to add some flair to your lanyard or backpack. Each one comes personalized with a name as seen here.

In My Teacher Era Glass Can


Another popular choice are these glass cans with a bamboo lid. I love having a set of glassware/mugs in my classroom for those moments where I need an extra boost of caffeine. 

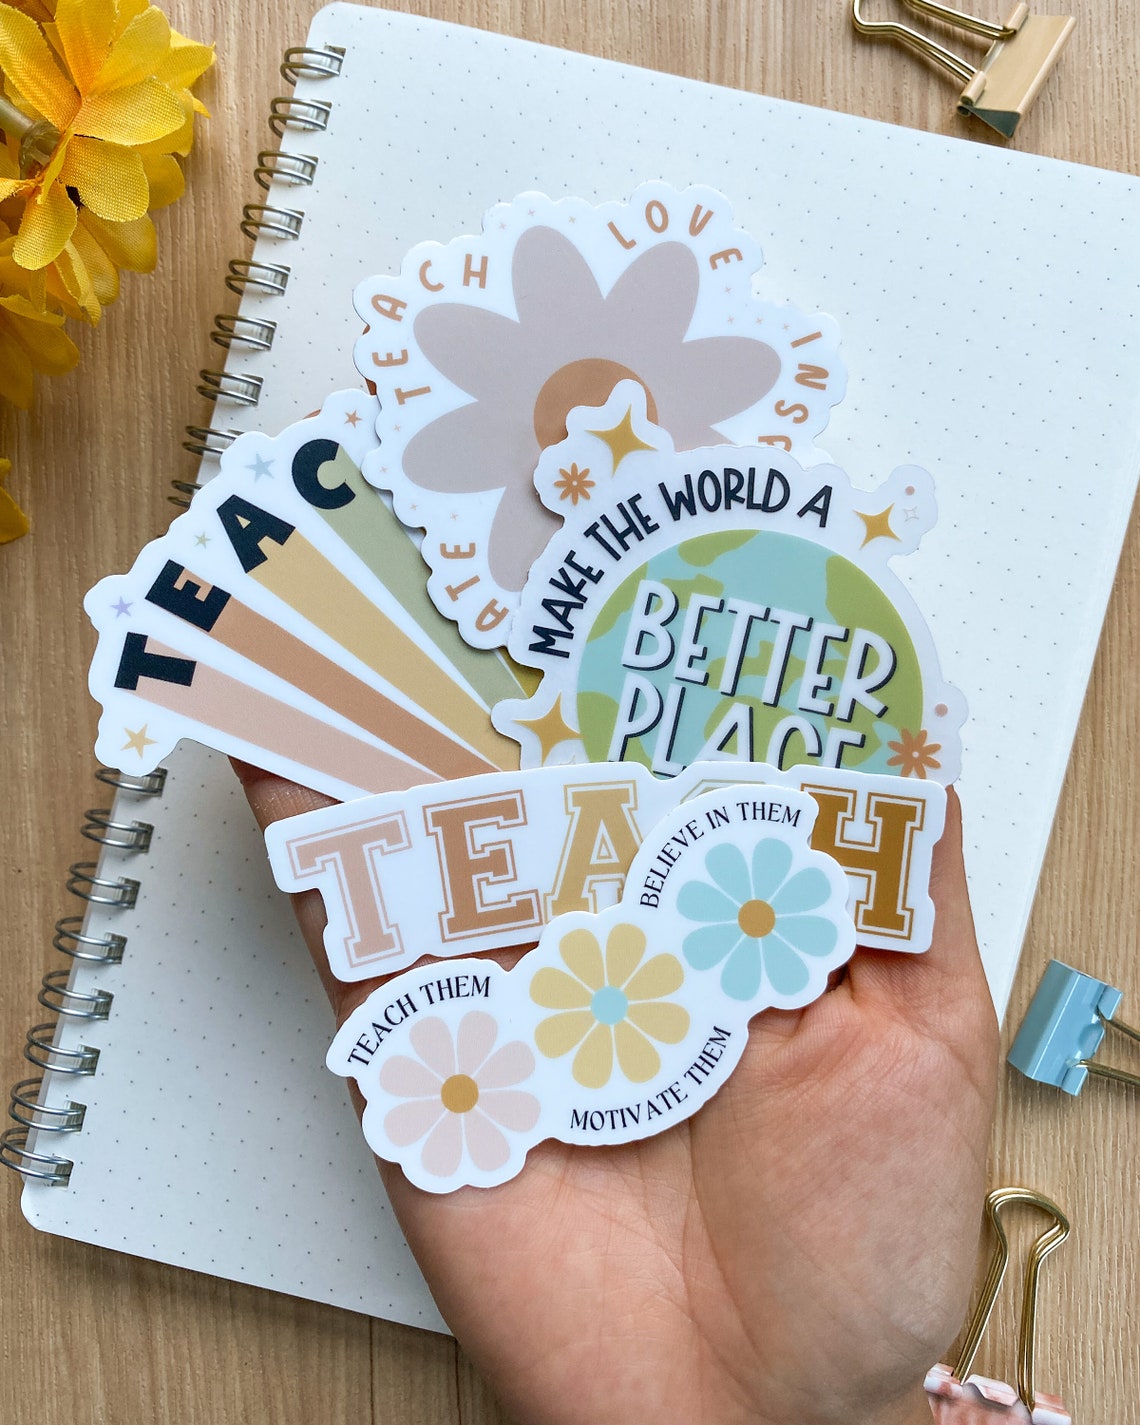
Stickers!

I have a few stickers in my shop, but I love finding new teacher-specific stickers from all over Etsy! Created By Christine Co is one of my favorites for finding cute teacher stickers! She's a fellow elementary teacher (who somehow manages to do it all!) and I love supporting fellow teacher-sellers!


That's it for now! I wish you all the most relaxing of final summer days and best of luck as you head into this school year!